How to Prepare Your Files for Custom Sticker Printing
Share
When making custom stickers, it's important to set up your design files correctly to get clear, colorful, and professional results. Whether you're printing stickers at home or using a service like Stickr, using the right file type, resolution, and design choices can make a big difference.
This guide will explain everything you need to know, from picking the right file type to choosing the correct resolution and color settings.
Why Is File Preparation Important?
Getting your files ready the right way is key because it affects how your stickers will look when printed. If your file format, resolution, or colors aren’t set up correctly, your stickers could look blurry, pixelated, or have the wrong colors. By preparing your files carefully, your stickers will turn out sharp, bright, and ready for personal or professional use.
Choosing the Right File Format
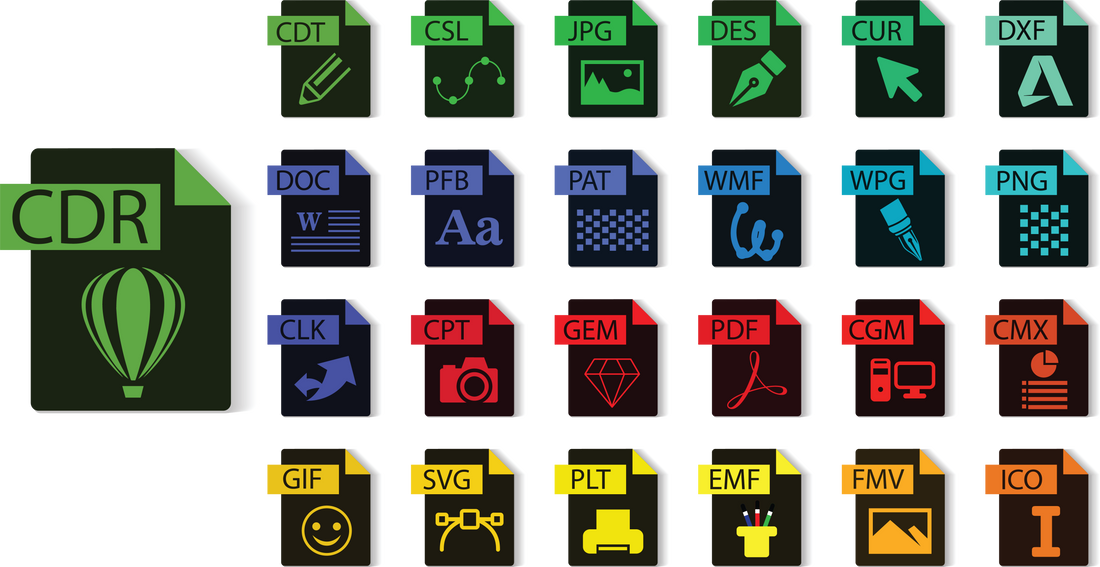
Picking the right file format is one of the first steps in creating high-quality stickers. These are the best formats to use:
- Vector files (AI, EPS, SVG): These are great for logos and designs with lines because they can be resized without losing quality.
- PDF files: Good for designs with text. PDFs keep layers and fonts exactly as they are.
- Raster files (PNG, JPG, TIFF): These work best for detailed designs. PNG files support transparency, which is helpful for designs with cutout shapes.
Understanding Resolution: DPI and PPI
Resolution is how sharp your stickers will look, and it’s measured in DPI (dots per inch) or PPI (pixels per inch).
- 300 DPI/PPI is the best choice for detailed or photo-based designs to prevent pixelation.
- 72 DPI is only for web images and will look bad when printed. Always convert web images to 300 DPI before printing.
Color Modes: RGB vs. CMYK
Picking the right color mode makes sure your colors turn out the way you want.
- RGB (Red, Green, Blue): Used for screens. If you print in RGB, the colors might look different than expected.
- CMYK (Cyan, Magenta, Yellow, Black): Used for printing. Always change your design to CMYK to make sure the printed colors look correct.
File Size and Bleeds
- File Size: Large files can slow things down when you upload them, but small files might lose quality.
- Bleed Area: A bleed makes sure your design prints all the way to the edge without any white borders. Add a 1/8" bleed if your design goes to the edge.
Fonts and Text
To make sure your text looks great:
- Embed or outline fonts: This makes sure any custom fonts will display correctly when printed.
- Font size: Use at least 6pt for easy reading, and make fonts bigger for smaller stickers.
Design Tips: What to Avoid
Avoid these common design mistakes:
- Low-contrast colors: Colors that are too similar, like light yellow on white, are hard to see.
- Fine details: Small details may not print well, especially on tiny stickers.
- Excessive gradients: Large, blended color areas can print poorly. Keep gradients simple.
File Compression and Delivery
When your design is ready, save it in the correct format. Don’t compress the file too much, or you might lose quality. Stickr lets you upload many types of files and can help if you have any questions about your design.
Ready to Print Your Stickers?
By following these steps, your files will be ready to print, and your stickers will look amazing. Whether you're making stickers for fun or for a business, Stickr can help you create high-quality, long-lasting stickers.
Got questions or need help? Our team is here to make sure your design comes out just the way you want it.

