Common Mistakes to Avoid
Share
Creating custom stickers can be fun and rewarding, but it’s easy to make a few missteps along the way that can affect your final product. Whether you’re designing stickers for personal use or to sell, knowing the common mistakes—and how to avoid them—will save you time, money, and frustration. In this post, we’ll break down the most frequent sticker design and printing errors so you can create the perfect custom stickers every time.
1. Using Low-Resolution Images
One of the most common mistakes is working with low-resolution files. Custom stickers require clear, crisp designs, which means your image resolution should be at least 300 DPI. Anything less, and your stickers will appear pixelated or blurry, especially when printed in larger sizes.
Tip: Always check the resolution of your design file before sending it to print. Vector files (like AI or EPS) are even better, as they scale without losing quality.
2. Overcomplicating the Design
While it might be tempting to add a lot of detail to your sticker design, intricate elements can get lost, especially if your stickers are small. Overcomplicated designs can also lead to cutting issues during production.
Tip: Stick to bold, simple designs that can be easily recognized from a distance. Small details often don’t print well on custom stickers, so less is more.
3. Ignoring the Bleed Area
Forgetting to include a bleed area in your design can result in crucial parts of your image being cut off during trimming. A bleed is extra space around the edges of your design that ensures the print goes all the way to the edge of the sticker without any gaps.
Tip: Always add at least 1/8 inch (3 mm) of bleed around your design to avoid unwanted cropping.
4. Choosing the Wrong Material
Not all sticker materials are the same, and using the wrong one can impact the sticker’s durability and usability. Vinyl is great for outdoor stickers due to its water and UV resistance, while paper is more suitable for indoor, temporary stickers.
Tip: Select the right material based on how and where your stickers will be used. If you're unsure, vinyl is usually the safest choice for long-lasting custom stickers.
5. Poor Color Contrast
Your custom stickers need to stand out, but poor color contrast can make them hard to read or see. Designs with similar shades or not enough contrast between elements and the background often result in a dull, unclear sticker.
Tip: Choose colors that pop and offer high contrast. For example, pair dark text with a light background or vice versa.
6. Thin, Fragile Designs
Long, thin sections in your design (such as intricate borders or detailed parts like thin legs on animals) are prone to peeling or tearing. These areas are also harder to cut accurately during production.
Tip: Keep your designs sturdy and avoid thin elements. If your design includes delicate areas, consider connecting those sections with more material for durability.
7. Not Proofing the Design Before Printing
One of the biggest regrets is skipping the proofing process and sending off a design that ends up with errors—be it a typo, an off-center element, or a missing layer in your file.
Tip: Always proof your design thoroughly. Print out a mock-up or view the file at actual size to ensure everything looks perfect before hitting 'print.'
8. Underestimating Sticker Size
It’s easy to misjudge how your design will look at different sizes. A design that looks great on screen might be too small to be legible when printed, especially on smaller stickers.
Tip: Test your design at the actual sticker size to ensure it’s readable and impactful. Scaling down might require simplifying the design.
9. Choosing the Wrong Finish
The finish you choose—glossy, matte, or holographic—affects the final look and feel of your stickers. A common mistake is not considering the finish in relation to the design and its use. For example, a glossy finish can make colors pop but may be harder to write on, while a matte finish offers a smooth, writable surface.
Tip: Think about the purpose of your sticker. If it needs to be writable, go for matte. If you want a vibrant, reflective surface, choose glossy or holographic.
10. Skipping Professional Printing Services
DIY printing can be tempting, but it often leads to lower-quality results, especially when it comes to durability and precision. Stickers printed professionally tend to have sharper details, richer colors, and longer-lasting quality.
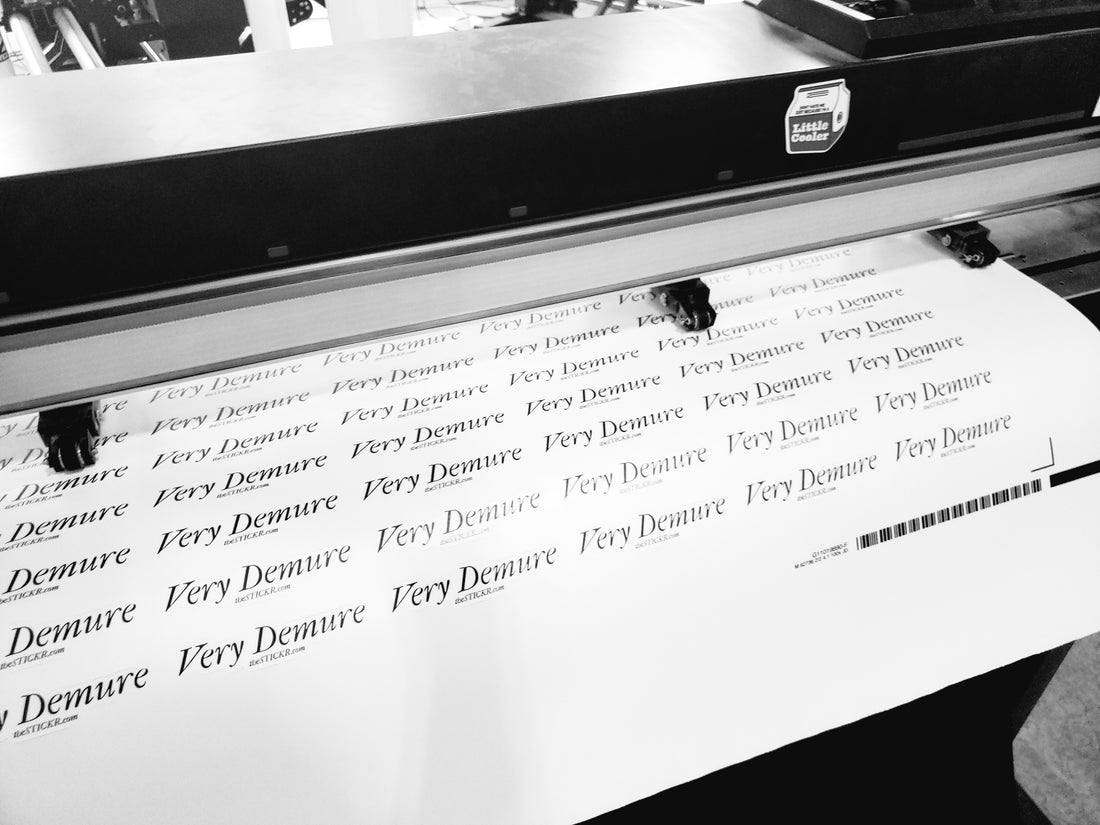
Tip: If you want high-quality custom stickers that last, trust a professional printing service like STICKR. We use premium materials and state-of-the-art printing techniques to bring your designs to life with vibrant colors and precise cuts.
Ready to Create the Perfect Stickers?
Avoiding these common mistakes will set you up for success with your custom stickers. Whether you're designing for fun or business, following these best practices will save you time and ensure the final product is something you're proud of.
Need help printing your custom stickers? Contact us today to get started with our professional sticker printing services, or upload your design and let us handle the rest!
By following these tips, you’ll avoid the most common sticker design pitfalls and get a finished product that looks professional, lasts longer, and captures attention. Let’s bring your sticker ideas to life!

